
How to Change a Diaper: Your Step-by-Step Guide

In this article

How to Change a Baby’s Diaper

What Do You Need to Change a Diaper?

How to Change a Boy’s Diaper

How to Change a Girl’s Diaper

How to Change Your Newborn’s Diaper

How to Change Your Toddler’s Diaper

How to Change a Poopy Diaper

How Frequently Should You Change a Diaper?

How Do You Know It’s Time for a Diaper Change?

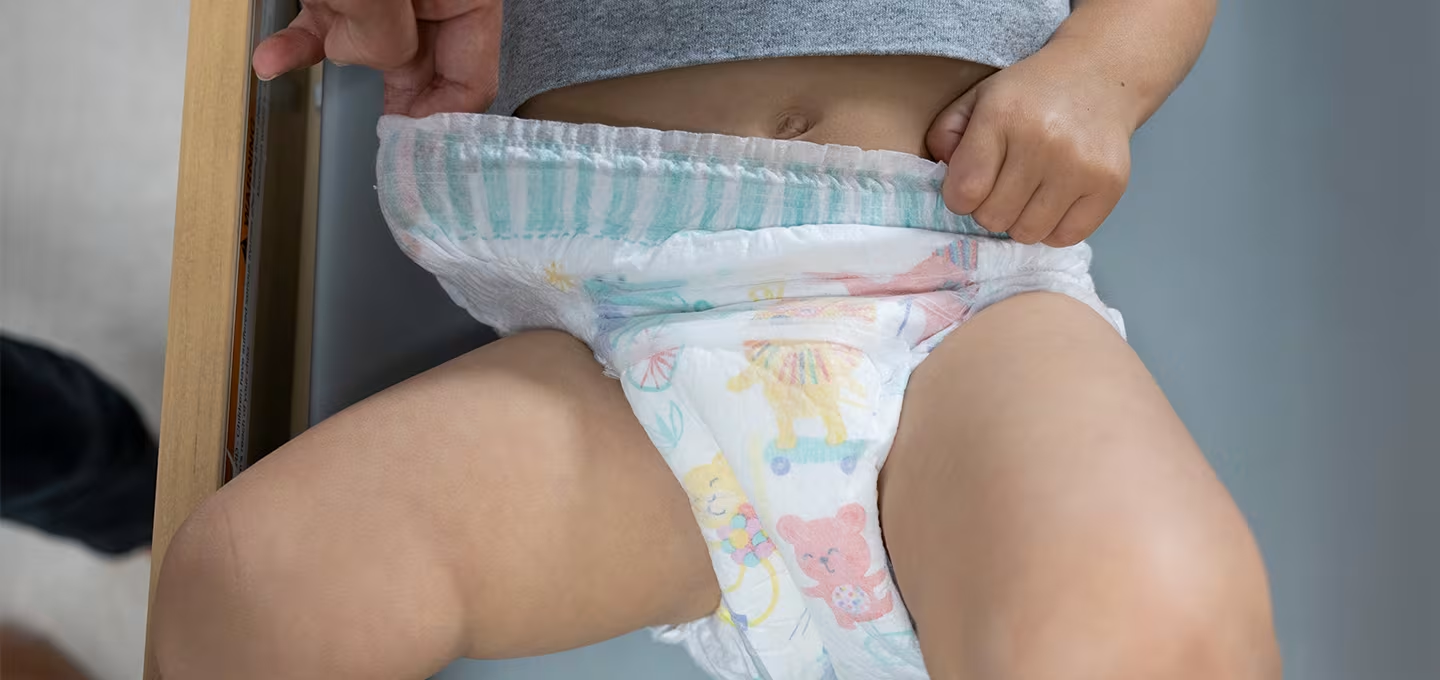
What Are the Signs Your Baby Needs a Bigger Diaper?

What to Do if the Diaper Is Leaking
🍼 In a Hurry? How to Change a Diaper – Quick Guide
Diapering your baby is as much a part of parenting as feeding your little one. Although changing a diaper takes a little practice, it will soon become routine once you get the hang of it.
Read on for our step-by-step guide on how to change your baby’s diaper, and learn the difference between changing diapers for newborns, boys, girls, and active toddlers.
How to Change a Diaper
Make sure you have everything you’ll need within reach for the diaper change. Once you’re ready, here’s how to change your baby's diaper in a few easy steps:
What Do You Need to Change a Diaper?
Having the right diaper changing supplies on hand can often make diapering a little easier. You might also choose to set up a diaper changing station, which could be a simple corner of a room. Here are some items needed for your “diaper changing station”:
Consider setting up a diaper changing station in your baby’s nursery. This station should include all the essentials you need for diaper changes, as well as the clothes your little one will change into. By having everything within arm's reach, you can keep your focus on your baby without having to look away or use your hands for anything else.
Tip
As you stock up on diapers and wipes, don’t forget you can get rewarded for your purchases! Download the Pampers Rewards app to start earning Pampers Cash today.
Diaper-Changing Tips
Learning how to change your baby’s diaper is a skill you’ll master quickly—you’ll get lots of practice! From understanding how to change a newborn diaper to trying out diaper-changing hacks for a busy toddler, here are our top diaper-changing tips to keep your baby clean, comfortable, and happy.
How to Change Your Newborn’s Diaper
If you're wondering how to change a newborn diaper, you're not alone. Many parents find those first few changes a little daunting, but with some practice—and lots of diapers—you’ll soon feel more confident.
Step-by-step tips for diapering a newborn
To get started, follow the basic steps in our guide on how to change a baby’s diaper. Right after birth, your nurse, midwife, or doula may walk you through a few diaper changes.
Your newborn might go through up to 10 diapers a day, so it’s a great time to get comfortable with how to put a diaper on a newborn.
Here are a few tips tailored for diapering a newborn:
You might also see:
When in doubt, reach out to your provider with questions about what’s normal in your baby’s diaper.
Diaper Change Safety Rules
Always follow these safety basics when changing your baby’s diaper:
How to Change a Baby Boy’s Diaper
Changing a newborn boy's diaper brings its own set of tricks. Along with following the diaper-changing steps above, try these handy tips:
How to Change a Girl’s Diaper
Wondering how to change a diaper for a baby girl and how to wipe? In addition to the general diapering steps, be sure to:
How to Change Your Toddler’s Diaper
Changing a wiggly toddler? It’s a whole different ballgame. Here are some changing diaper hacks for busy toddlers:
Talking your toddler through the diaper change and even letting them help can make it more interactive. It’s also a gentle way to start introducing the concept of potty training. You might even let them watch as you dump their poop into the toilet to help make the connection.
Supplies Checklist for Diaper Changes
Keep these supplies within arm’s reach:
□ clean diaper
□ wipes or a damp cloth
□ diaper cream
□ changing pad or towel
□ disposal bag or diaper pail.
Optional but helpful:
□ spare outfit
□ hand sanitizer
□ toy for distraction.

Diaper Changes on the Go
Changing a diaper in public can feel overwhelming at first, but with a little preparation, it becomes second nature. When you’re out for a walk, dining at a restaurant, or traveling, these tips for diaper changes on the go can help make the experience smoother for both you and your baby.
When a public changing table isn’t available, look for a quiet, clean corner with some privacy. You can also change your baby in the car using the back seat or trunk space as a makeshift changing area.
For more tips on handling a diaper change in public, check out this guide on changing diapers in different scenarios.
How Do You Know It’s Time for a Diaper Change?
Some diapers have a wetness indicator so that you can see at a glance if your baby needs a diaper change.
Other signs your baby may need a diaper change include:
Nighttime Diaper Changes: Do You Need Them?
You usually don’t need to wake your baby for a diaper change at night unless:
If you think your baby needs a diaper change, gently check down the back of their diaper without waking them. Keep nighttime diaper changes calm and quiet to avoid overstimulating your baby.
What to Do If Your Baby Dislikes Diaper Changes?
If your baby fusses, cries, or squirms during diaper changes, you're not alone. Many babies dislike being undressed or lying still, especially if they're cold or overstimulated.
Here are a few calming strategies you can try:
If your baby seems uncomfortable due to diaper rash or sensitive skin, check with your baby’s healthcare provider to rule out irritation or allergies. Discomfort during diaper changes can sometimes be linked to skin issues or developmental phases where your baby is asserting independence.
FAQS AT A GLANCE
Start by laying your baby on a clean, flat surface and keeping one hand on them at all times. Unfasten the dirty diaper, gently wipe from front to back, and lift your baby’s legs to remove the soiled diaper. Slide a clean diaper under your baby, apply diaper cream if needed, and fasten the tabs securely. Make sure the diaper fits snugly but isn’t too tight.
The Bottom Line
Even if diaper changes aren’t your favorite part of the day, they’re an important opportunity to bond with your baby—and keep them feeling clean, dry, and comfortable. As you gain experience, diapering becomes second nature.
In the early weeks, expect to change your baby’s diaper about 10 times a day, especially after each poop or when the diaper is wet. Learn more about how often to change a diaper as your baby grows and their habits change.
If leaks or red marks start to show up, it might be time for a bigger size. Look for signs your baby’s diaper doesn’t fit well, like the tapes don’t reach the center, you notice red marks on your baby’s skin, you can’t fit two fingers under the waistband, or your baby seems uncomfortable. Our diaper size and weight chart and diaper size quiz can help you find the best fit.
And if you’re dealing with frequent blowouts or damp clothes, check out our guide on how to prevent diaper leaks and blowouts—including finding the right diaper fit—for helpful troubleshooting tips.
With the right routine—and the right diapers—you’ll be well on your way to diapering success.
- ed. (New York: Bantam Books.)
- Healthy Children. “Baby's First Days: Bowel Movements & Urination.”
- Healthy Children. “Changing Diapers.”
- Healthy Children. “Changing Table Safety.”
- Healthy Children. “How to Calm a Fussy Baby: Tips for Parents & Caregivers.”
- Kids Health. “Diapering Your Babyg.”
- La Leche League. “How Do I Travel with my Baby?”
- La Leche League. “Poop and Pee in the Exclusively Breastfed Baby.”
- Zero to Three. “One Diaper at a Time.”
Read more about Baby


Join a World of Support
through Pregnancy and Parenthood.
TRACK WITH TOOLS
LEARN WITH EXPERTS
GET REWARDED


Where You Already Belong